
Before you start
Important information and support for the successful implementation of your flooring project.
With these instructions, we show you how to easily install your flooring yourself. We support you in realizing your desired design.
Note: These instructions serve as a simplified guide for application. They do not replace professional training or skilled execution.
If you have questions about individual steps or uncertainties in the implementation, simply contact us:
support@pure-resin-flooring.com
We are here for you and will help you quickly and easily.
Our recommendation
We strongly recommend testing the material on a sample area or plate beforehand. This will give you a feel for how the material behaves, how it flows, and how it is processed. This way, you avoid mistakes on the actual surface.
Please note:
These instructions are only intended for application on a pre-prepared substrate. The inspection and preparation of the substrate (e.g., evenness, strength, residual moisture) are not included here and are entirely your responsibility. If you are unsure, you should consult a professional craftsman for substrate preparation. If you have general questions about the framework conditions, simply contact us.
Requirements for your substrate and processing
For the coating to succeed, your substrate must meet the following requirements: For us to proceed, the substrate must be clean, dry, solid, load-bearing, and free of release agents. This means that there must be no oils, greases, or other adhesion-inhibiting residues on the floor. In addition, the surface should be closed and evenly prepared. The surface should be smooth and free of pores, holes, blowholes, or other unevenness. If you want to close pores and blowholes in the screed, you can use, for example, a professionally executed scratch coat. Or you can make it easier with a high-quality cementitious leveling compound. It should be neatly applied, closed, and free of defects. If you observe all of this, nothing stands in the way of a successful coating.
On-site conditions
For perfect processing, the ambient conditions must be right. Please strictly adhere to the following values:
- Humidity: below 70%
- Processing temperature: between 16 °C and 24 °C
- Surface temperature of the floor: at least 16 °C
- Temperature difference: maximum 3 °C difference between room and floor
Important note: If the temperature fluctuates too much, it can lead to condensation. This is when moisture from the air condenses as a fine film of water on the cooler floor. This massively impairs the adhesion and quality of the material.
Step 1 – Priming (Basic)
Once the substrate is prepared and all ambient conditions are met, you can start with the priming.
Preparation when using leveling compound
If you are using a leveling compound, an intermediate sanding before priming is absolutely necessary:
-
Grit: Use abrasives with 60 or 80 grit.
-
Goal: The surface is roughened, and the pores are opened.
-
Cleaning: After sanding, thoroughly vacuum the surface and clean it dry.
Important: Under no circumstances wipe the surface wet! Moisture prevents the primer from penetrating deeply into the substrate. Only a dry, open-pored floor guarantees a strong bond.
If you use epoxy resin scratch coat, you should adhere to the so-called chemical window. You should re-coat the parts within 24 hours so that the layers bond optimally.
Material & Consumption (Pure Resin Basic)
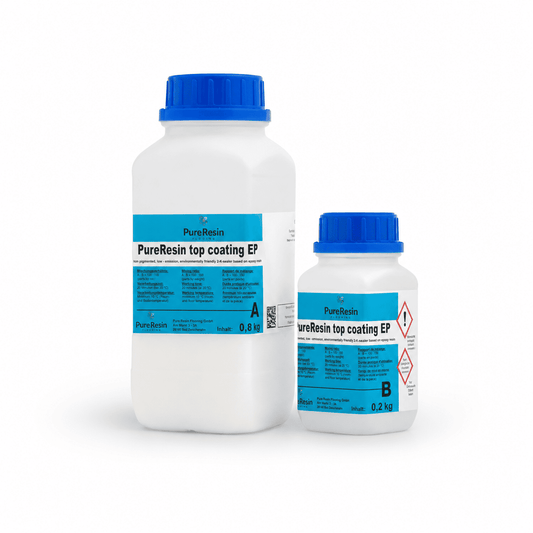
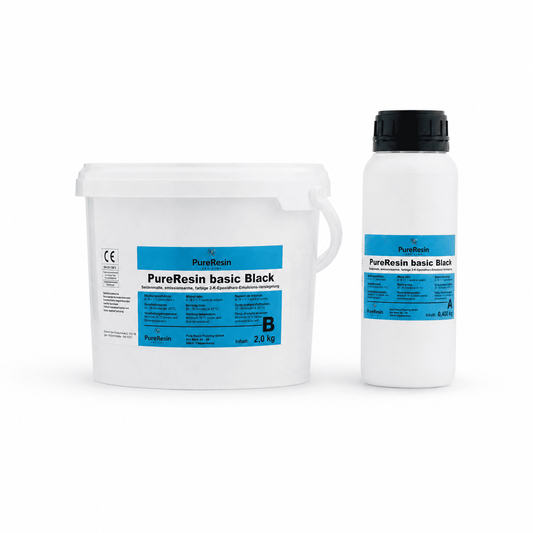
The primer is a 2-component system and consists of:
-
Component A (resin)
-
Component B (hardener)
Mixing ratio per m²: 40 g Component A + 200 g Component B
Important for your planning:
-
You absolutely need 2 coats for a perfect result.
-
Therefore, plan for double the quantity (this requirement is already calculated in our products).
Pre-prepared container sizes:
Our sets are already precisely pre-assembled for the following areas:
-
Epoxy resin primer for approx. 5 m²
-
Epoxy resin primer for approx. 10 m²
-
Epoxy resin primer for approx. 40 m²
Your advantage: You don't have to calculate anything – just choose the right container for your square footage.
Processing & Application
For a perfect base, please follow these mixing steps precisely:
-
Mixing: Combine components A and B completely and mix with a stirring device until no streaks are visible.
-
Water addition: Add exactly 2% water (based on the weight in the bucket) and mix everything again streak-free.
-
Re-potting: It is essential to transfer the material into a clean bucket and stir again briefly.
Distribute the material evenly on the floor. Avoid uncontrolled overlaps for a homogeneous result.
The layer structure
-
First coat: Apply evenly and let dry.
-
Intermediate sanding: After drying, lightly sand with 180 grit.
-
Second coat: Apply the second coat.
Important schedule: Wait until the primer is completely dry before proceeding to the next step. The design coating should be applied after 20 to 24 hours.
Important notes
-
Precision: Strictly adhere to the mixing ratios.
-
Planning: Mix only as much material as you can process directly.
-
Cleanliness: Ensure a dust-free environment and clean tools.
Result: If you follow these steps, you will lay the perfect foundation for your design coating.

Step 2 – Resin and Floor Coating (Coating)
Mixing process, time windows, and layer thicknesses: Everything for a professional application of your main coating.
Important prerequisites before starting
- The primer (Basic) must be completely dry.
- The surface must no longer be damp.
Time window for coating
To ensure optimal adhesion, please observe the following timing:
- Ideally, apply the coating within 24 hours of priming.
If more than 24 hours have passed:
- Lightly sand the surface with 180 grit.
- Thoroughly clean the surface of sanding dust.
- Then you can start with the coating.
Material & Variants
We make it easy for you: Our sets are already assembled to suit your area. You don't have to calculate anything yourself.
Pre-prepared set sizes:
-
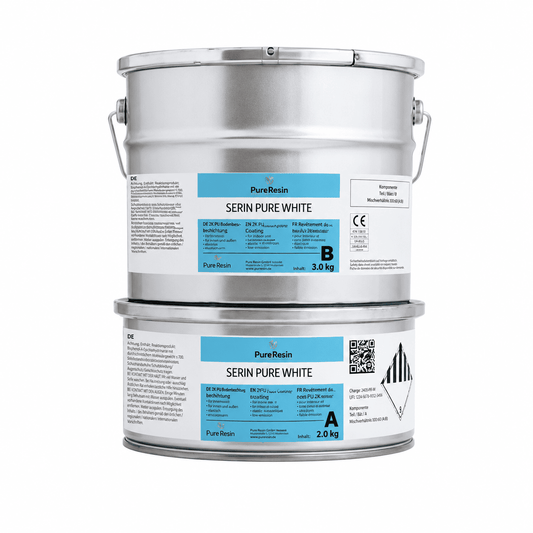
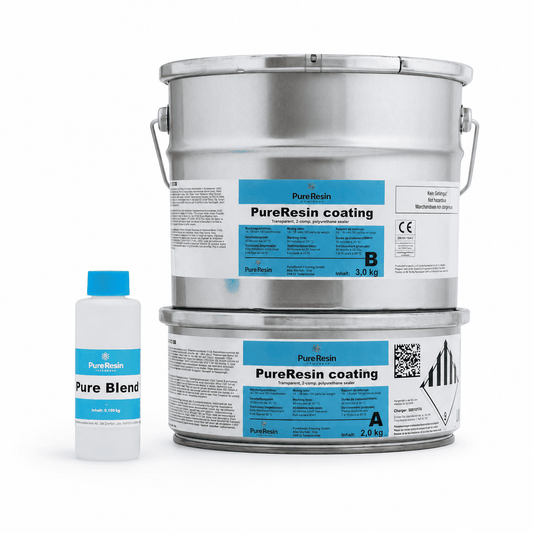
PU resin floor coating for approx. 5 m²
-
PU resin floor coating for approx. 10 m²
Choose your processing variant
Variant 1: With leveling optimizer (additive)
Calculated quantity per m²:
-
400 g Component A
-
600 g Component B
-
20 g additive (optional for optimized leveling)
-
approx. 15–20 g epoxy resin color
Variant 2: Without additive (solvent-free)
Calculated quantity per m²:
-
600 g Component A
-
900 g Component B
-
approx. 15–20 g epoxy resin color
Tip: If you opt for variant 2, simply omit the additive during mixing.
Mixing resin correctly:
Correct mixing is crucial for subsequent curing. Please follow this sequence exactly:
-
Mix base: Combine components A and B completely.
-
Stir: Mix with a stirring device at approx. 600 rpm until no streaks are visible.
-
Additive (Optional): If desired, add the leveling optimizer and mix thoroughly again.
-
Pigment: Slowly sprinkle in color pigments and stir for 3 to 4 minutes.
-
Resting phase: Let the mixture stand briefly so that initial air bubbles can escape.
-
Re-potting (Very important!): Transfer the entire mixture into a clean bucket. Carefully scrape the edges of the first bucket.
-
Completion: Stir the re-potted mix again briefly.
Your advantage: By re-potting, you prevent unmixed "nests" at the bucket edge, which could later cause sticky spots on your floor.
Application on the surface
As soon as the material is mixed, the application on the floor begins. Proceed in a structured manner:
- Pour out material: Completely pour the freshly mixed material onto the prepared floor. Do not leave it in the bucket!
- Work on the area: Work on the intended area (e.g., 5, 10, or 25 m²) quickly and without breaks.
- Distribute evenly: Use a suitable coating roller to distribute the resin homogeneously over the surface.
The goal: Create an even layer thickness of approx. 1 mm to 2 mm for an optimal surface result.
Tips for perfect processing
- Pace: Work slowly and avoid hectic movements to prevent incorporating air into the resin.
- Rolling technique: Roll out the material evenly. Always work from outside to inside.
- Tool handling: Never leave the roller on the floor after using a bucket. Hang it in the bucket or place it on a clean surface.
- Workflow: Mix the next bucket immediately after pouring out the previous one to continue working wet-on-wet.
Important notes for success
- Always use clean tools to avoid inclusions.
- Adhere strictly to the specified mixing times.
- Do not leave the material in the bucket (risk of rapid heating).
- Mix only as much resin as you can process directly within the pot life.
If you consistently follow these steps, you will achieve a uniform and clean coating as the perfect base for your desired design.

Step 3 – Sealing (Top Coating)
Whether pure high gloss or elegant matt sealing – this is how you protect your floor and complete your project.
Option 1: High Gloss without Sealing
- Status: Your floor is already finished after the design coating.
- Workload: No further steps are necessary.
Option 2: Additional High Gloss Sealant
If you want to apply an extra protective layer in high gloss for maximum depth:
- Application: Proceed exactly as with the coating in step 2.
- Mixing technique: Use the same technique for mixing and repotting.
- Important: For sealing, no pigment is added.
Option 3: Matte Sealant (Elegant Look & Easy Care)
For a modern, matte finish and particularly easy care, the following preparations are necessary:
1. Sanding the Surface
- Use abrasives with a 240 grit.
- Sand the entire surface until a uniform white fracture (matte appearance) is visible.
2. Thorough Cleaning
- Vacuum up all sanding dust.
- Then clean the surface with a dry mop.
IMPORTANT NOTE: Never wet wipe the floor before sealing! Moisture almost always leads to streaking or unsightly color changes in the final result.
Material & Mixing Ratio of the Sealant
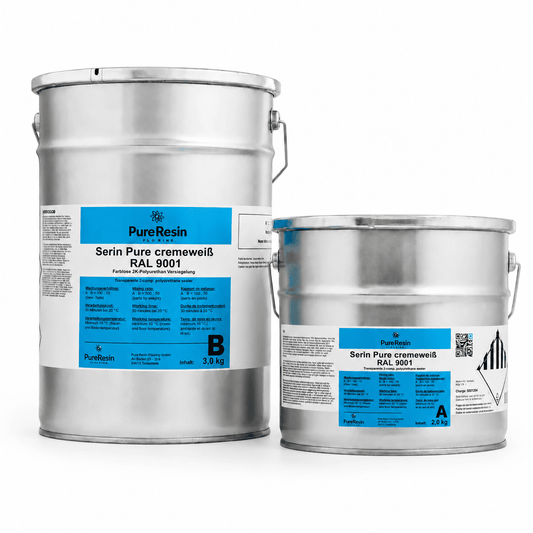
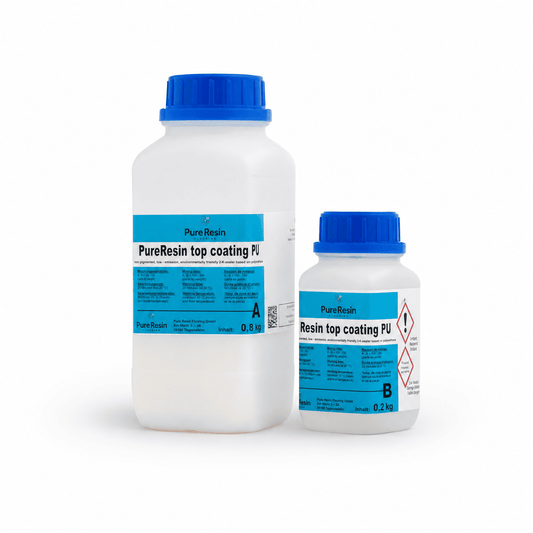
Our sealants are supplied as pre-portioned kits (e.g., for 5 m²). You don't have to calculate anything, just weigh precisely.
-
Mixing ratio per m²: 160 g component A + 40 g component B
Mixing – Step by Step
-
Combine: Completely combine components A and B in the mixing cup.
-
Stir: Mix thoroughly until the mixture is absolutely streak-free.
-
Repot: Pour the mixture into a clean bucket (scrape off the edges).
-
Re-stir: Stir the repotted mix again briefly.
Note: Always mix only as much material as you can apply directly within the processing time.
Application on the Floor
For a perfect finish, it is best to use a microfiber short-pile roller and a brush for the corners. Proceed as follows:
-
Apply the material evenly to the prepared floor.
-
Work in a grid pattern (cross-rolling) to achieve a homogeneous layer thickness.
-
Work your way backwards out of the room.
Important Notes for a Flawless Result
-
Do not step on: Never walk through the fresh, wet coating.
-
No spiked shoes: Unlike with the design coating, no spiked shoes may be used for sealing.
-
Teamwork: If possible, work with two people to avoid overlaps and to roll wet-on-wet quickly.
Completion & Curing
After applying the sealant, your flooring project is complete. Please strictly adhere to the curing times and full load-bearing capacity of the system before using the floor again or placing furniture.

Your first project is finished – congratulations!
You've done it and successfully completed your own flooring project. A finished unique piece you can be proud of!
Want to become a true professional?
If you want to further improve your results or delve deeper into the topic, we recommend our workshops. There you will learn directly from experts how to process the material perfectly and, above all, how to implement spectacular design techniques step-by-step in practice.
Click here for our workshop dates
Thank you for your trust.
Your Pure Resin Flooring Team